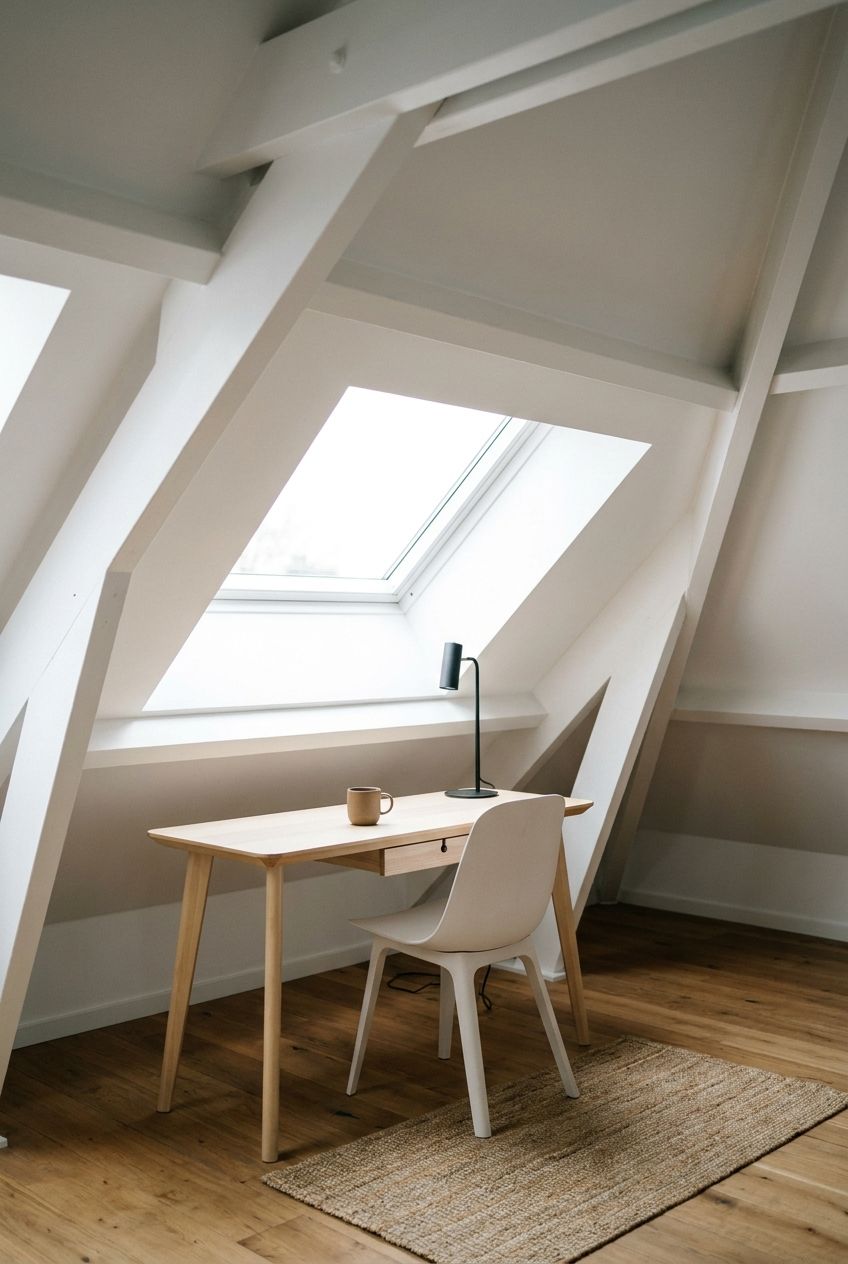
Attic Office Ideas: 11 Ways to Turn Dead Space Into a Workspace You’ll Actually Use
Attic Office Ideas: 11 Ways to Turn Dead Space Into a Workspace You’ll Actually Use
The average homeowner spends $15,000 to $30,000 converting an attic into usable space, and a startling number of those rooms end up as expensive storage again within two years. The reason is almost never the design. It’s heat, noise, and a ceiling that’s too low to stand under. This guide gives you attic office ideas that survive the first July heat wave, with real costs, code numbers, and layouts that work.
Check These Four Numbers Before You Buy a Single Desk
Before you fall in love with a Pinterest board, your attic has to pass a physical exam. Four measurements decide whether it’s a good candidate. Skip them and you’ll discover the problem after the drywall goes up.
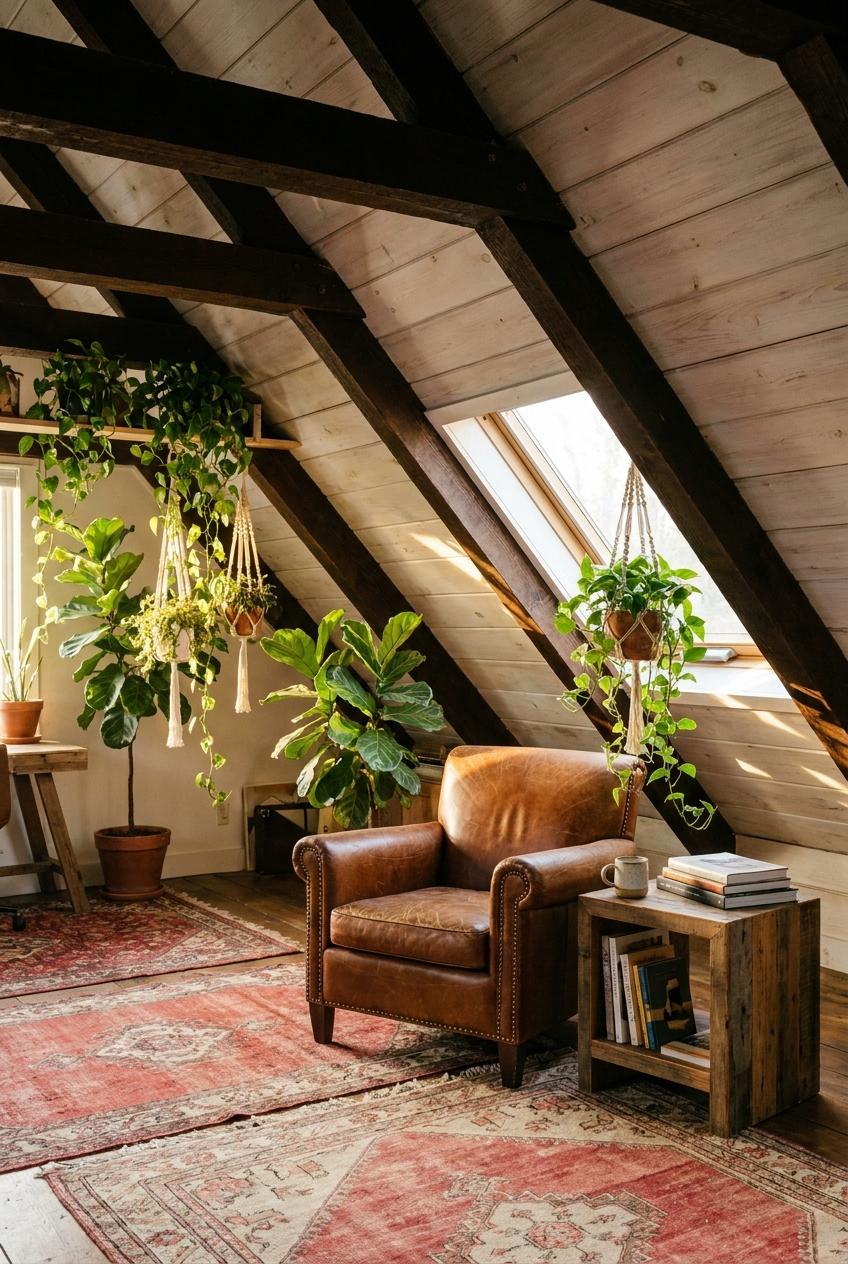
The Four Deal-Breakers
- Ceiling height: The International Residential Code (IRC), the model building code most U.S. jurisdictions adopt, requires at least 7 feet of ceiling height across 50% of the floor area for a habitable room. Sloped ceilings only count where they’re at least 5 feet high.
- Floor area: You need at least 70 square feet of usable floor, with no dimension narrower than 7 feet. A 7-by-10 foot attic office technically qualifies and works well for one person.
- Floor joist size: Attic floor joists are often 2×6 lumber built to hold insulation, not people and furniture. Office use needs to support roughly 30 to 40 pounds per square foot. A 2×6 at 16 inches on center rarely does that over a long span, so plan on ‘sistering’ (bolting a new board alongside the old one) or adding joists.
- Access: A pull-down ladder is not code-compliant for a permanent room. You need a fixed staircase at least 36 inches wide with a maximum riser height of 7.75 inches.
Measure with a laser distance tool (the Bosch GLM 20 runs about $40) from the floor to the ridge, then at the point where the roof slope hits 5 feet. Mark both on a sketch.
But what if you fail the height test? You have two options: raise the roof with a dormer, which starts around $15,000, or accept a lower-use space for a standing desk corner and storage. A dormer often adds 30 to 50 square feet of full-height floor, which is usually enough to rescue the project.
How to Insulate an Attic Office So It Stays Under 78°F in Summer
An uninsulated attic in July can hit 130°F. Your office will be miserable and your laptop’s fan will sound like a leaf blower. Insulation is the single most important line item, and it’s where most DIY conversions cut corners.
Pick the Right Material
Spray foam gives the best result in tight rafter bays. Closed-cell foam delivers about R-6.5 per inch and seals air leaks at the same time. Fiberglass batts are cheaper, at roughly $0.50 to $1.50 per square foot installed, but they leak air and lose performance when compressed.
Most climate zones call for R-38 to R-60 in an attic ceiling. Check your zone on the Department of Energy’s insulation map. Rafters are usually 2×8 or 2×10, which can’t hold R-38 on their own, so you’ll often combine a layer of closed-cell foam with rigid foam board across the underside.
Don’t Skip the Ventilation Gap
If you use fiberglass, you must leave a 1-inch air channel between the insulation and the roof deck, using baffles like the Owens Corning ProPink AtticCat or simple foam vent chutes (about $1.50 each). This lets the roof breathe and prevents moisture rot. Closed-cell spray foam seals directly against the deck, so no gap is needed.
But what if you live somewhere hot? Add a radiant barrier, a foil sheet stapled under the rafters, for about $0.20 per square foot. It can cut attic heat gain by 5 to 10 degrees in sunny climates. Expect to pay $3,000 to $7,000 for professional insulation of a typical 400-square-foot attic.
Heating and Cooling: The Mini-Split Beats Every Other Option
Extending your home’s existing ductwork into an attic almost always fails. Ducts run long, airflow dwindles, and your central system wasn’t sized for the extra load. The fix most contractors now recommend is a ductless mini-split.
A mini-split is a wall-mounted indoor unit connected to a compact outdoor compressor by a thin refrigerant line. It heats and cools, runs quietly (often 19 to 30 decibels, quieter than a whisper), and needs only a 3-inch hole through the wall.
For a 200 to 400 square foot attic office, a 9,000 to 12,000 BTU unit is the right size. Popular options include the Mitsubishi MSZ-GL09NA (around $1,400 for the unit) and the Pioneer Diamante series (about $800 to $1,000). Professional installation adds $1,500 to $3,500 depending on refrigerant line length.
A cheaper path exists for small rooms. A portable AC like the Midea Duct Free 8,000 BTU costs about $400 but requires a window vent and runs loudly, around 50 decibels. It works for a 100-square-foot nook but is a poor choice for video calls.
But what if your budget is tight? Install the mini-split’s wiring and line set during construction even if you buy a cheaper unit now. Retrofitting the hole later costs more than the unit itself.
Lighting an Attic Office: Skylights, Dormers, and the 3-Layer Plan
Attics are naturally dark, and a dim workspace drains focus fast. Your goal is roughly 8% to 10% of the floor area in glazing for natural light, which means a 300-square-foot attic wants about 25 to 30 square feet of windows.

Natural Light Options
A Velux fixed skylight (about $300 to $600 plus $1,000 to $2,000 installed) is the cheapest way to add light. Place it above or beside your monitor, not behind it, to avoid glare. A dormer window costs more but adds headroom and a view. Gable-end windows are the cheapest of all if your attic has an exterior wall, often under $800 installed.
Artificial Light in Three Layers
- Ambient: Recessed LED cans between rafters, 4-inch size, 2700K to 3500K color temperature, about $15 to $25 each. Plan one per 25 square feet.
- Task: A desk lamp with a CRI (color rendering index) of 90 or higher, like the BenQ ScreenBar ($110), which sits on your monitor and adds no glare.
- Accent: LED strips along knee walls for $15 to $30, which make a low-ceiling room feel taller.
But what if your roof faces west? Choose a skylight with a built-in solar-blocking blind (Velux sells a solar-powered one for about $200) or you’ll be squinting at 4 p.m. every summer afternoon.
The Floor Plan Tricks That Make Sloped Ceilings Work
Sloped ceilings waste space only if you fight them. Place each function where its height requirement is lowest.
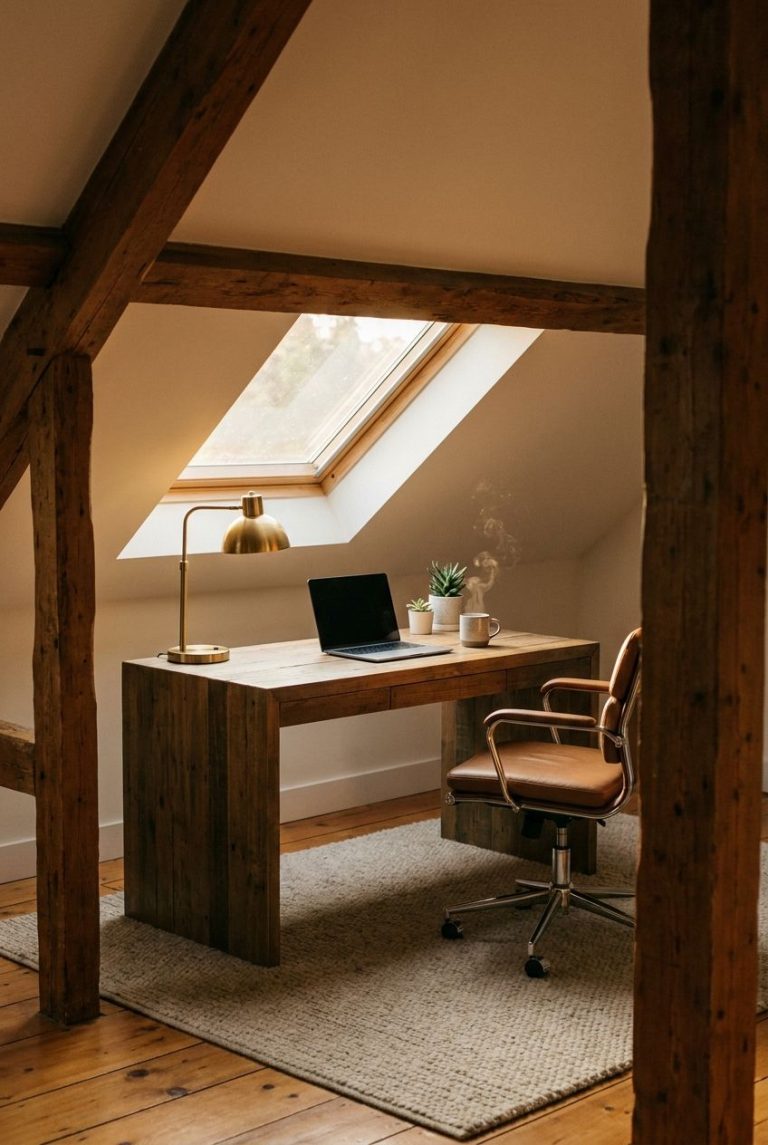
Your desk and chair need about 5 feet of clearance when seated, so the desk can sit under a slope. Standing zones, like doorways and a standing-desk corner, belong under the ridge where you have 7 feet or more. Storage goes in the 2- to 4-foot knee-wall zones, where you can’t stand anyway.
Here’s a layout that works for a typical 12-by-20 foot attic with a center ridge:
- Center ridge zone: Walkway and a standing-height work surface.
- Left slope: Built-in desk at 29 inches high, running 8 to 10 feet along the wall.
- Right slope: Knee-wall cabinets, 18 to 24 inches deep, for files and supplies.
- Gable end: A window and a small reading chair or video-call backdrop.
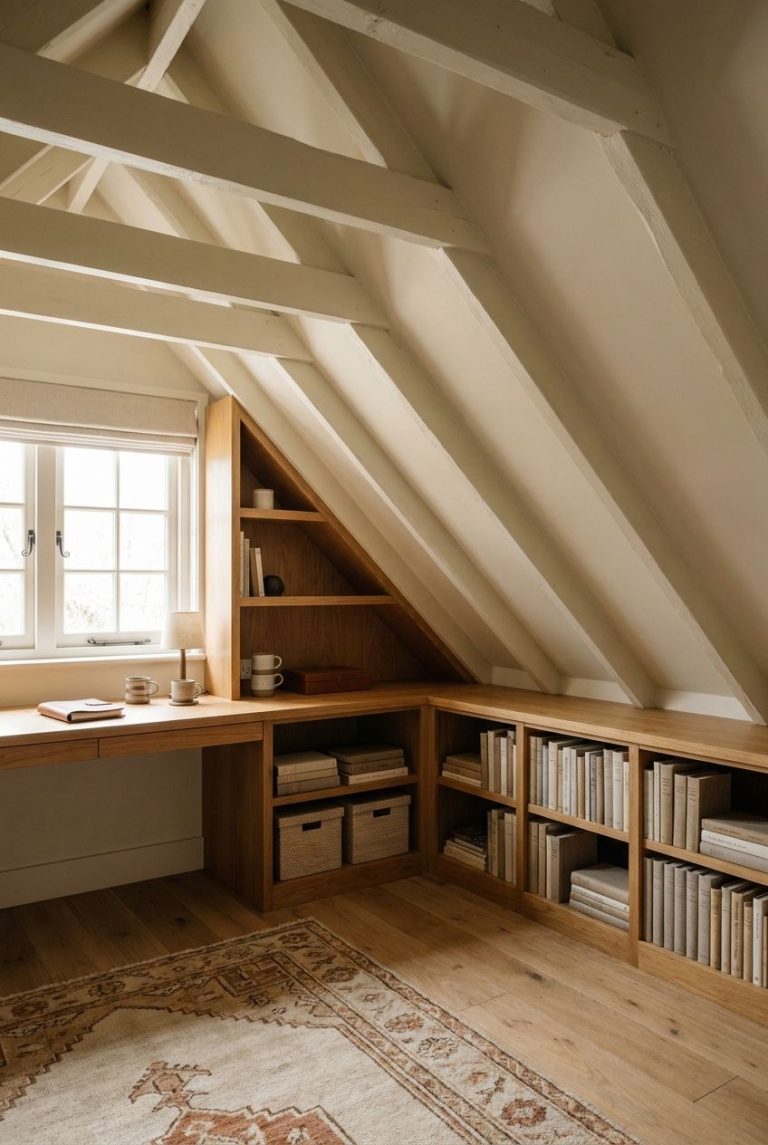
Built-ins make the biggest difference. A local carpenter will charge about $800 to $2,500 for a custom desk and knee-wall cabinet run, while IKEA’s PAX or BESTÅ systems cut to fit can handle the same job for $500 to $900 if you accept slightly less precise fit.
But what if your attic has a truss roof? Standard trusses (the W-shaped webbing) block usable space and can’t be cut. You’d need an engineer to design attic trusses, which leave an open middle section. If your roof has W-trusses, a conversion is usually not worth it.
Soundproofing: Keep Roof Rain and Household Noise Out of Your Calls
Rain on an asphalt roof hits about 50 to 60 decibels inside an unfinished attic, loud enough to disrupt a Zoom call. Footsteps from below are the other offender. Both are fixable.
For the roof side, dense insulation does most of the work. Mineral wool batts like Rockwool Safe’n’Sound ($1.00 to $1.50 per square foot) absorb sound better than fiberglass. For the floor, lay a layer of Mass Loaded Vinyl (a heavy, flexible sound barrier, about $2 per square foot) under your subfloor, or use resilient channels that decouple the ceiling below.
At the door, install a solid-core door with a bottom sweep. A hollow-core door blocks almost nothing, while a solid-core door like the Masonite 1-3/8 inch model (about $120) cuts noise by 10 to 15 decibels.
Add soft surfaces inside the room to reduce echo. A 5-by-8 foot rug and a couple of acoustic panels (the Audimute or Primacoustic brands, about $50 to $100 per set) tame the reverb that makes hard-walled attics sound like a bathroom.
But what if you already have drywall up? You can still add sound control. Green Glue compound between a second layer of drywall costs about $15 per tube and adds meaningful dampening, though it takes a weekend of work.
Furniture That Fits: Desks, Chairs, and Storage Under 36 Inches
Attic furniture needs to be low, modular, or custom. Standard bookshelves at 72 inches tall won’t fit under a slope and will waste half your wall.

Choose a desk no deeper than 24 to 30 inches if it sits under a slope, and keep monitor arms (like the Ergotron LX at about $150) in use so you can pull screens toward you without needing a deep surface. For seating, pick a task chair with a low back such as the Steelcase Series 1 ($450 to $600) so your head doesn’t clip the ceiling.
Smart Storage Moves
- Knee-wall cabinets: Use the 3-foot-tall side spaces for file boxes and printer storage.
- Rolling carts: The IKEA RÅSKOG cart ($40) slides under desks and out of the way.
- Floating shelves: Mount at ridge height where you can reach them standing.
- Under-desk drawers: Replace the floor footprint of a filing cabinet.
For flooring, avoid thick carpet that muffles Wi-Fi-boosting hardware and traps dust near an exposed roof. Luxury vinyl plank (LVP) at $2 to $5 per square foot is durable and handles temperature swings better than hardwood, which can warp.
But what if you need a lot of storage? Build a half-wall bookcase along the knee wall rather than buying freestanding units. It uses the same footprint and gives you a place to put books and bins that would otherwise sit awkwardly in the open room.
Attic Office Ideas by Budget: What You Get at $3,000, $10,000, and $25,000
Cost swings wildly depending on whether your attic already has a floor, stairs, and electrical. Here is how three realistic budgets compare.
| Budget Level | What You Get | Best For | Timeline |
|---|---|---|---|
| $3,000 to $5,000 (Light conversion) | Subfloor over joists, fiberglass insulation, a portable AC, extension of one electrical circuit, a fold-down ladder | A part-time work nook in a dry attic that already meets height rules | 1 to 2 weekends of DIY plus 3 days of electrician time |
| $10,000 to $15,000 (Mid-range) | Spray foam, mini-split, fixed stairs, drywall, skylight, LVP flooring, built-in desk | A full-time remote worker who wants a year-round office | 4 to 8 weeks |
| $20,000 to $30,000+ (Full conversion) | Dormer addition, structural reinforcement, new stairway, bathroom rough-in, custom millwork, full HVAC | Low-ceiling attics needing a new roof structure or a second-bedroom-grade space | 3 to 5 months |
My recommendation: if you work from home four or more days a week, go mid-range. The light conversion saves money but costs you comfort and resale value, and a bad July in a half-finished attic will make you regret it. The full conversion only makes sense if your height or structure fails the earlier checks.
Five Attic Office Layouts You Can Copy This Month
Concrete layouts beat abstract advice. Here are five that work in real attics.
- The Gable-End Desk: Place your desk under the gable window so you face natural light. Works in any attic with an end wall window. Needs about 80 square feet.
- The Dual-Zone Office: Split the attic into a focused work zone at one end and a casual reading nook at the other, divided by a bookcase. Ideal for 250 square feet or more.
- The Dormer Studio: Build the desk into a dormer alcove, which gives you full standing height and a window in one move. Great for creative professionals who need an inspiring view.
- The Library Loft: Line both knee walls with floor-to-ridge built-in shelving and put a standing desk in the middle. Suits writers, researchers, and anyone with books.
- The Video-First Studio: Dedicate one gable end to a clean backdrop with soft side lighting, and keep clutter behind knee-wall doors. Built for sales calls and online teaching.
Sketch your attic on graph paper at a 1-inch to 1-foot scale first, then cut paper cutouts of each piece of furniture. Moving paper around takes ten minutes and prevents expensive mistakes.
But what if your attic is narrow? In a space under 10 feet wide, run the desk along the long wall and skip the dual-zone layout. A single clean line of work surface feels bigger than two cramped zones.
Three Attic Office Mistakes That Cost Thousands to Fix
Mistake 1: Skipping the Permit
Many homeowners assume an unfinished-looking project needs no paperwork. In most jurisdictions, converting an attic to habitable space requires a building permit, typically $500 to $2,500 depending on project value. Unpermitted work can block a home sale, void insurance claims, and force you to tear out finished walls for inspection. Call your local building department first and ask what they require.
Mistake 2: Underestimating the Heat Load
People buy a 5,000 BTU window unit because it was cheap, then discover it can’t keep up with a sun-baked roof. Undersized cooling runs constantly, wears out within two seasons, and still leaves you sweating. Size by square footage plus roof exposure, and add 10% to 20% to the BTU rating if your attic has a south or west-facing roof.
Mistake 3: Forgetting Electrical Capacity
A mini-split, computer, monitors, and space heater can easily draw 25 amps. Running that on a shared 15-amp circuit will trip breakers mid-meeting. Have an electrician add a dedicated 20-amp circuit for your equipment and a separate 240-volt circuit for the mini-split. Budget $800 to $2,500 for the electrical work.
All three mistakes are fixable on paper before you start and brutally expensive after the drywall is up.
Objections and What-Ifs: Is an Attic Office Actually Worth It?
“It will be too hot or too cold.” Only if it’s poorly insulated and unconditioned. With R-38 or better insulation and a mini-split, attic offices routinely hold within 3 to 4 degrees of the rest of the house year-round.
“It will never add value.” Appraisers count finished attic space as living area only if it meets code, which includes ceiling height, egress, and permitted construction. A properly permitted conversion typically returns 50% to 70% of its cost at resale, according to Remodeling Magazine’s Cost vs. Value report, and the figure climbs if it’s a legal bedroom.
“What if I rent?” Don’t convert a rental attic. Instead, use a portable approach: a rug, a freestanding desk, and a plug-in oil heater cost under $600 and leave nothing behind. Get written landlord permission first, since unauthorized use of attic space can violate your lease.
“What if I’m afraid of the cost?” Compare it to the alternatives. Renting a coworking desk runs $200 to $500 a month, or $2,400 to $6,000 a year. A $12,000 attic office pays for itself in two to five years and adds home value, though it only works if you’ll actually use it.
“What about stairs and accessibility?” If mobility is a concern, an attic office means stairs twice a day. A first-floor spare room is a better bet for anyone who struggles with them.
Start With a $0 Attic Audit This Weekend
Before you call a single contractor, spend one Saturday morning with a tape measure, a flashlight, and a notepad. Measure ceiling height at the ridge and at the 5-foot slope line, check your joist size where you can see them, and note every window, vent, and pipe. Then call your local building department and ask one question: “What do I need to convert an attic to a home office?”
Write down the permit cost and the inspection steps, then get two written quotes from insulation and electrical contractors. With those numbers in hand, you’ll know within a week whether your attic is a $5,000 nook or a $20,000 project, and you’ll avoid the biggest mistake of all, which is spending money before you know what the space can do.