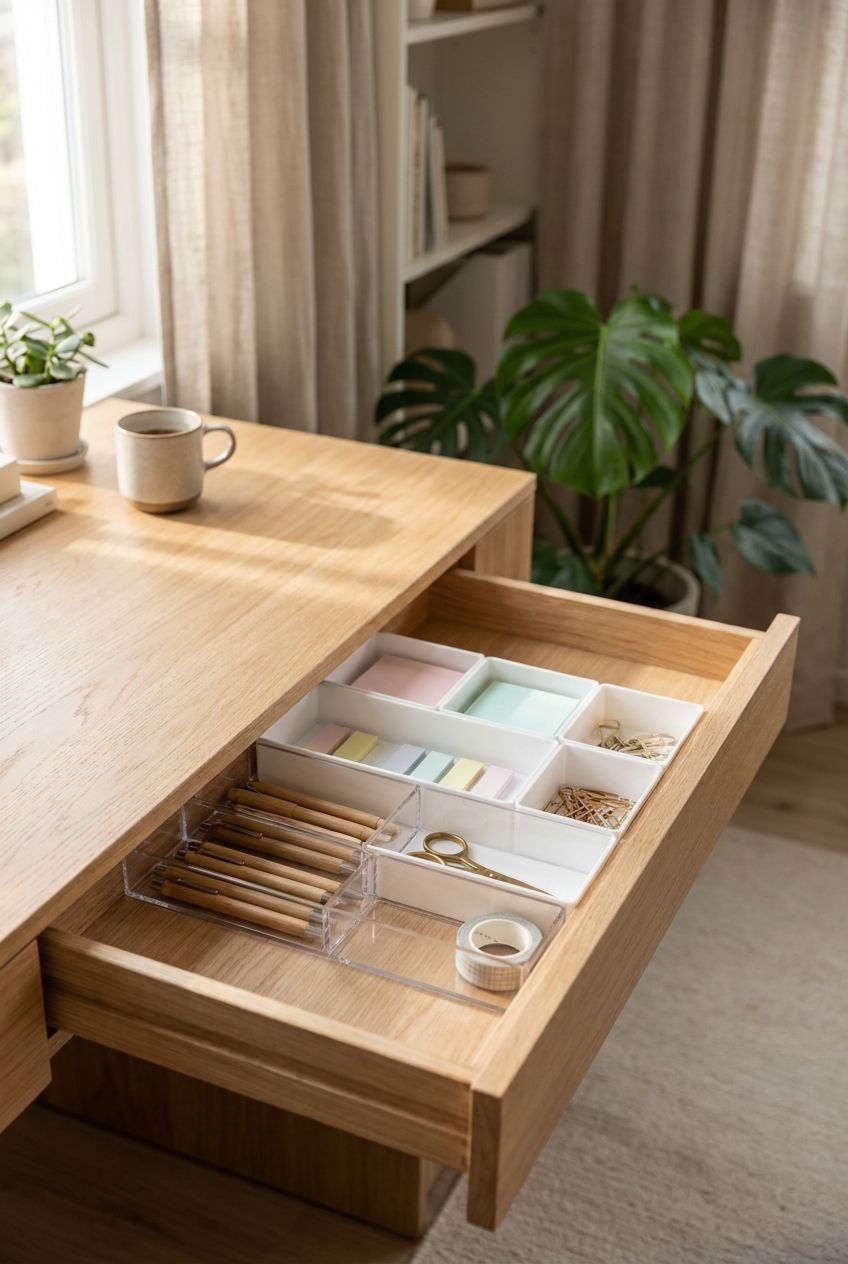
How To Organize Desk Drawers: A 90-Minute System That Actually Lasts
The average office worker spends about 1.5 hours a week hunting for things they already own, and a cluttered desk drawer is usually where the search ends in frustration. You don’t have a stuff problem. You have a zoning problem. This guide shows you how to organize desk drawers in a single 90-minute session, then keep them that way with a five-minute weekly reset.
Why Desk Drawers Turn Into Junk Drawers Within Weeks
Desk drawers fail for one reason: they are deep, unlabeled, and open on a single flat plane. Everything lands on top of everything else, and the item you need is always at the bottom.

A standard desk drawer is roughly 15 to 17 inches wide, 20 to 24 inches deep, and 2 to 3 inches tall inside the shallow top drawer. That is a lot of horizontal space with no built-in structure. Without boundaries, objects migrate toward the back and the sides, and the front becomes a dumping ground.
The fix is not buying a fancy organizer. It is deciding, in advance, what belongs in each square inch. Think of a drawer as a small shelf lying on its side. Shelves have zones. Your drawer needs them too.
Before you touch anything, understand the three forces that wreck a drawer:
- Slide: loose items shift every time you open and close the drawer, so small things end up buried.
- Stack: without dividers, people pile items vertically, which hides everything below the top layer.
- Stray: items with no assigned home (a single battery, a loose key, a takeout menu) multiply because nothing tells you where they go.
Every step below targets one of these three. Dividers stop the slide. Vertical storage stops the stack. A “home” rule stops the stray.
What You Need Before You Start (Under $40 Total)
You do not need a shopping spree. Most people who buy organizers first end up with trays that don’t fit and a drawer that looks worse than before. Gather these supplies, but buy the dividers after you measure and sort.
Supplies for the Clear-Out
- Three boxes or bags: label them Keep, Relocate, and Toss/Donate.
- A tape measure: a basic 12-foot Stanley works fine.
- Microfiber cloth and a few drops of all-purpose cleaner: drawers collect crumbs, pen dust, and rubber band residue.
- A timer: set it for 90 minutes total.
Supplies for the Rebuild
Expect to spend $15 to $40 depending on the drawer count. The most useful options are expandable bamboo or plastic dividers (the Simple Houseware Adjustable Drawer Organizer runs about $12 to $15), a set of small modular trays like Amazon Basics 6-piece sets (about $10 to $14), and non-slip shelf liner at roughly $5 to $8 per roll. Skip anything labeled “desk organizer set” with 20 pieces. Most of those pieces will not fit your drawer.
Success check: you should have three labeled boxes, a measured drawer, and zero purchases made yet. If you feel tempted to buy first, don’t. Measurements drive the purchase, not the other way around.
How to Empty and Sort Every Drawer in 30 Minutes
The sort is where the real work happens. Do it fast. Slowness turns decisions into debates, and debates turn a 30-minute task into a three-hour one.
- Pull everything out of one drawer at a time. Dump it on your desk or the floor. Doing all drawers at once creates a mountain you will abandon. But what if you only have 20 minutes? Do the top drawer only. It is the one you use most, so it delivers the biggest payoff.
- Group like with like. Pens with pens, cables with cables, sticky notes with sticky notes. Success looks like 6 to 10 small piles, not one giant heap.
- Test every pen and marker. Scribble each one on scrap paper for two seconds. Dead ones go in the Toss box. Most people discard 30 to 50 percent of their pens at this step.
- Apply the 30-day rule. If you have not used an item in the last 30 days and it is not seasonal or legally required, it leaves the desk. What if it might be useful someday? Put it in the Relocate box and store it elsewhere. Your desk is prime real estate, not a museum.
- Wipe the empty drawer. Two minutes with a damp microfiber cloth. Let it dry before you add liner.
Set a hard stop: when the 30-minute timer ends, everything is sorted into piles or boxes, and nothing has gone back in yet.
How to Divide Your Drawers Into Zones That Match How You Work
Now you design. A good drawer system follows the prime-zone rule: the things you grab daily go in the spots your hand reaches first, and the things you grab monthly go in the back or in a lower drawer.
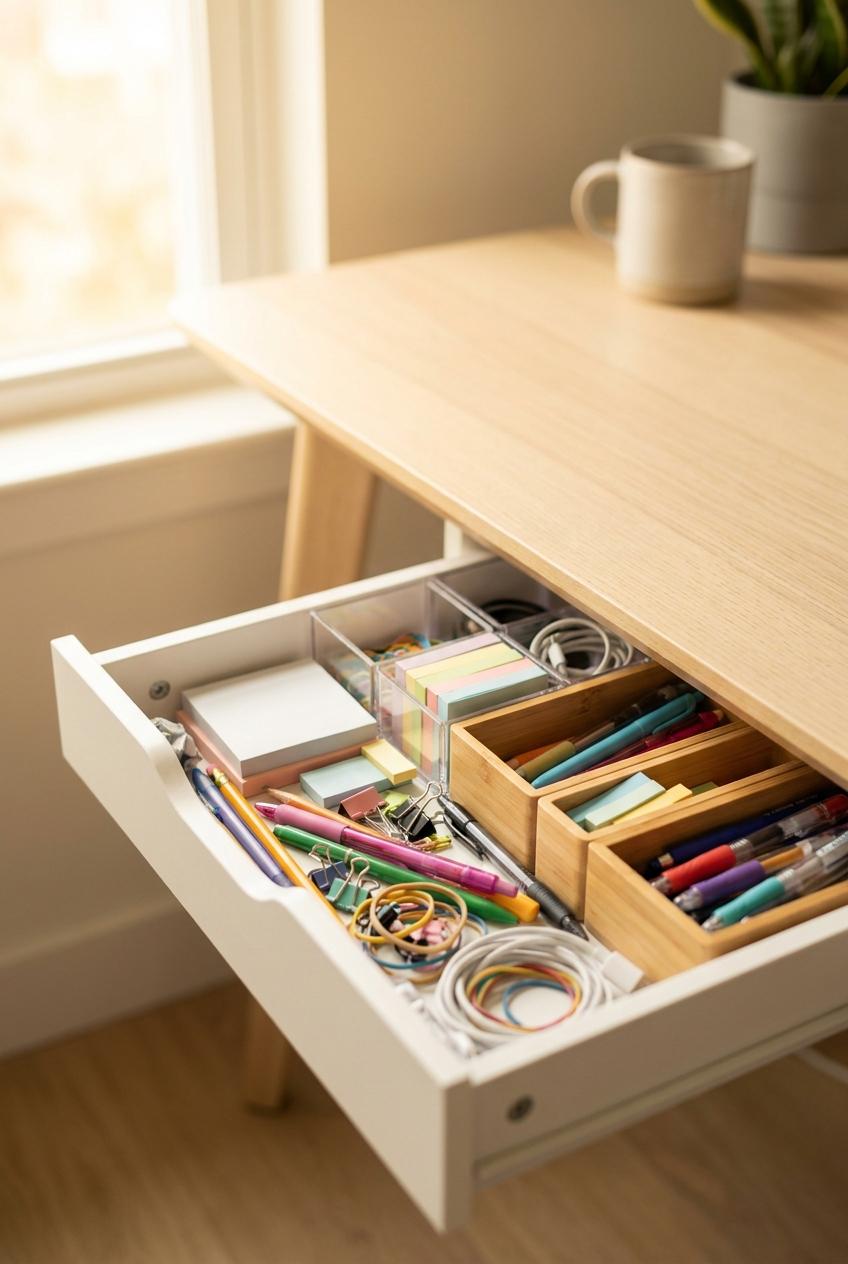
Top Drawer: Daily-Use Zone
This is your high-traffic drawer, usually 2 to 3 inches deep. It should hold only items you touch at least weekly: pens, highlighters, sticky notes, paper clips, scissors, a small stapler, and a ruler. Divide it into a grid of 5 to 8 compartments using modular trays.
Middle Drawer: Supplies and Tech
Use this for cables, chargers, USB drives, spare batteries, headphones, and mailing supplies. Cables are the worst offenders. Coil each one loosely, secure it with a Velcro tie (about $8 for a 50-pack), and label the tie with a strip of masking tape and a marker.
Bottom Drawer: Files and Reference
If your bottom drawer is a file drawer (usually 10 to 12 inches deep), use hanging folders in a letter-size frame. Limit active files to 15 to 20 folders. More than that and the drawer becomes a filing graveyard.
Sketch the zones on paper before buying anything. Draw the drawer outline, then box in each zone. Success looks like every item category having a named spot on your sketch.
Which Drawer Organizer Should You Buy? A Side-by-Side Comparison
Three styles dominate the market, and each fits a different situation. Pick based on your drawer, not on what looks nicest in a product photo.
| Organizer Type | Typical Price | Flexibility | Durability | Best For |
|---|---|---|---|---|
| Expandable bamboo dividers | $12–$25 | High (adjusts 12″–17″ wide) | Excellent (5+ years) | Odd-sized or deep drawers needing custom layouts |
| Modular plastic trays (Amazon Basics, mDesign) | $10–$18 per set | Medium (fixed sizes, stackable) | Good (2–4 years) | Small items like clips, pens, and sticky notes in shallow drawers |
| Fabric or felt-lined bins | $15–$30 | Low (rigid shapes) | Fair (1–3 years, fray at edges) | Quiet, upscale-looking drawers with light use |
The verdict: if your drawer measures an unusual width, buy expandable bamboo dividers. If you mainly store tiny items, modular plastic trays win on price and flexibility. Choose fabric bins only if you care more about appearance than longevity. For most people, a combination works best: one adjustable divider plus a set of small trays inside it.
How to Set Up the Drawer in 6 Steps (With Success Checks)
You have sorted, zoned, and chosen your organizers. Now build. Work one drawer at a time and finish each before starting the next.
- Line the drawer. Cut non-slip shelf liner to fit using scissors. Press it flat. Success: nothing slides when you shake the empty drawer. What if the liner bunches? Trim 1/8 inch off the edges so it lies flat.
- Measure the interior. Record width, depth, and height in inches. Write them on a sticky note. Success: you have three numbers per drawer.
- Place the large dividers first. Set expandable dividers to carve the drawer into 2 or 3 large zones, then add trays inside. Success: dividers press snugly against the drawer walls with no wobble.
- Load heavy items at the back, light items up front. Staplers and tape dispensers sit at the back; pens and notes sit at the front.
- Stand things on their edge. File sticky-note pads, envelopes, and index cards vertically like books on a shelf. Success: you can see every item by glancing down, without lifting anything.
- Label the front edge. A Dymo label maker (about $20) or a strip of masking tape does the job. Success: a guest could find a paper clip in under 10 seconds.
Total time for this stage: about 30 minutes for three drawers.
The 3 Mistakes That Undo Your Drawer Organization
Even a clean setup collapses if you repeat these errors. Each one has a quick fix.

Mistake 1: Buying Organizers Before Measuring
This is the most expensive error. People order a $25 set, discover the trays are half an inch too wide, and return it or shove it in anyway. The fix: measure first, sketch second, shop third. Bring the numbers with you or keep them in your phone.
Mistake 2: Overfilling Every Compartment
A drawer packed to 100 percent capacity cannot be maintained. You will need room for new items. The fix: fill each compartment to about 70 percent. That 30 percent buffer absorbs new additions and keeps the drawer from jamming.
Mistake 3: Skipping the Maintenance Habit
An organized drawer is not a finished project, it is a system. Without a reset routine, entropy returns within three to four weeks. The fix: block five minutes every Friday afternoon. Pull out anything that does not belong, return strays to their zones, and toss anything expired or dried out. Set a recurring calendar reminder so it happens without willpower.
Objections and “What If” Scenarios Answered
Every organizing project meets resistance. Here are the five most common objections, answered with practical solutions.
“I have a tiny drawer and nothing fits.” Shrink the inventory, not the container. Keep only 3 pens, one highlighter, and one pad of sticky notes in the top drawer. Everything else moves to a desktop cup or a storage box in a closet.
“I share my desk with someone else.” Assign one drawer to each person. If you only have two drawers, split the top drawer down the middle with a divider and label each side. Shared supplies, such as tape and scissors, get a dedicated third zone.
“I have a lot of sentimental or random items.” Create one small box, roughly 6 by 9 inches, as your “keep” box. If the box is full, something has to go. A hard limit forces honest decisions.
“What if I work from home with kids or a pet?” Put hazardous or fragile items (scissors, craft knives, small batteries) in the highest drawer or a lockable one. Many desks come with a lock option, and aftermarket drawer locks cost about $10 to $15.
“What if I hate labeling?” Use clear trays so contents are visible. You trade the label for transparency, and the system still works.
How to Keep Desk Drawers Organized With a 5-Minute Weekly Reset
A one-time cleanup gets you to Monday. A weekly reset gets you to next year. The routine is short on purpose, because anything longer than five minutes gets skipped.
Do this every Friday before you shut down your computer:
- Open each drawer fully. Visual inspection catches problems early.
- Return strays to their zones. If a pen is in the cable section, it goes home. This takes about 60 seconds.
- Remove one thing. Challenge yourself to pull out at least one item that no longer belongs. Dead pen, old receipt, stale mint.
- Wipe visible dust or crumbs. A dry microfiber cloth handles it in under a minute.
- Check your 70 percent rule. If a compartment is overfull, move the excess out immediately.
Once a quarter, spend 20 minutes doing a deeper review. Reapply the 30-day rule, replace worn liner, and recheck whether your zones still match how you work. Job changes, new equipment, and seasonal tasks all shift what deserves prime real estate.
Drawer Layouts for Three Common Workspace Types
The best layout depends on what you actually do at your desk. These three blueprints cover the most common setups.
The Home Office Professional
Top drawer: pens, sticky notes, paper clips, and a small stapler. Middle drawer: chargers, a USB hub, headphones, and spare batteries. Bottom drawer: 15 to 20 hanging files for taxes, receipts, and contracts. This layout favors paperwork and tech.
The Creative Freelancer
Top drawer: sketching pencils, markers, erasers, and a craft knife in a lidded tray. Middle drawer: sketchbooks and loose paper stored flat. Bottom drawer: client folders and portfolio pieces. Use wider dividers here, 3 to 4 inches, to hold larger tools.
The Student
Top drawer: highlighters, index cards, a calculator, and a pencil case. Middle drawer: notebooks and printed readings, stored vertically. Bottom drawer: snacks, a water bottle, and a small first-aid kit. Students benefit from a “this week only” folder at the front of the middle drawer for assignments due in the next seven days.
Adapt these templates. Swap items, resize zones, and run them for two weeks. If something keeps ending up out of place, that is a signal to move its home closer to where you actually use it.
Your Next Step: Organize One Drawer in the Next 20 Minutes
Do not wait for a free weekend. Pick the drawer you open most, probably the top one, and set a timer for 20 minutes right now. Empty it onto your desk, test every pen, toss the dead ones, and group what remains into piles by type.
Then measure the drawer and write three numbers on a sticky note: width, depth, height. Only after that should you order a divider or tray set. When it arrives, the build takes under 15 minutes because the hard decisions are already done.
One drawer, 20 minutes, three measurements. Start the timer.