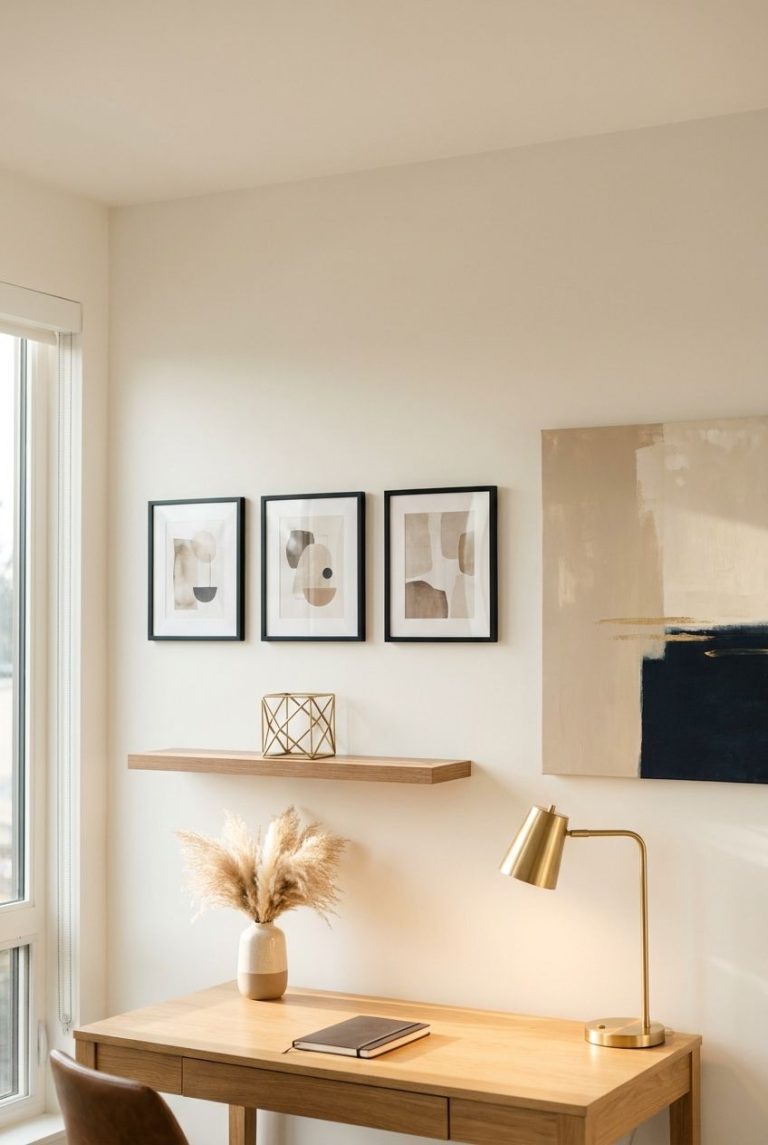
How To Organize Office Furniture: A Layout Guide for Any Room Size
Most people shove their desk against the nearest wall, wedge a bookshelf wherever it fits, and live with the result for years. The cost is real: glare, a sore neck, and a room that fights you every day. Here is how to organize office furniture in a single afternoon, with measurements, product examples, and exact steps.
Why Furniture Placement Matters More Than Furniture Quality
A $1,200 Herman Miller Aeron chair in a badly arranged room performs worse than a $150 chair in a smart one. Layout controls three things you feel daily: how much you reach and twist, how much glare hits your screen, and how often you get interrupted.
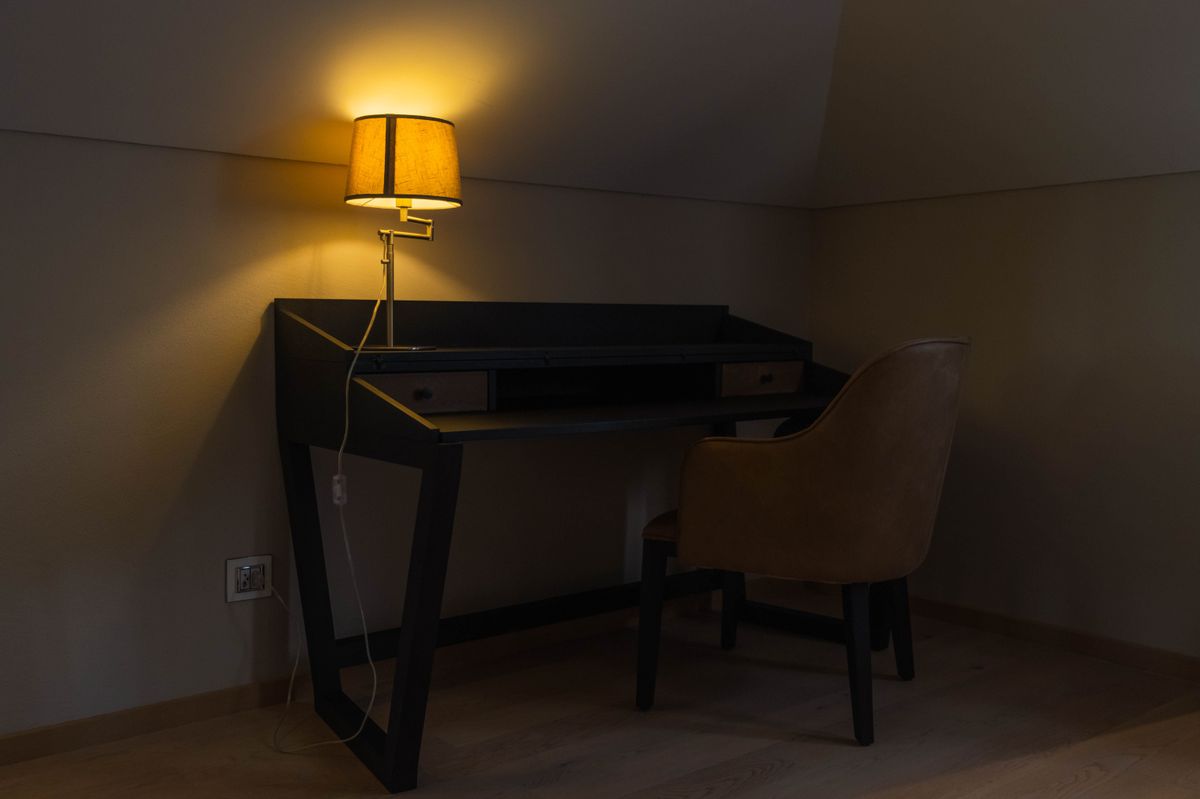
Ergonomics, the science of fitting a workspace to the human body, gives concrete targets. The U.S. Occupational Safety and Health Administration (OSHA) recommends a monitor 20 to 40 inches from your eyes, with the top of the screen at or slightly below eye level. Your elbows should bend near 90 degrees while typing.
None of that works if the desk sits in the wrong spot. A desk near a window creates glare. A desk with its back to the door makes you flinch whenever someone walks in.
- Fewer steps: Daily items sit within 20 to 25 inches of your seated position, the natural reach of your forearm.
- Better light: Daylight arrives from the side, never directly behind or in front of the screen.
- Clear walkways: Paths stay at least 36 inches wide, the ADA minimum for accessible routes.
But what if your room has awkward angles or one unchangeable window? The tricky-rooms section below covers it. Nearly every constraint has a workaround.
How To Measure Your Room and Map a Layout in 20 Minutes
Do not move a single piece of furniture until you have a plan on paper. Heavy lifting twice is how backs and floors get damaged.
- Measure the room. Use a 25-foot tape measure (Stanley PowerLock is a reliable $12 option). Record wall lengths, ceiling height, and the exact position of doors, windows, and outlets. Success looks like a sketch with every number written on it.
- Measure each furniture piece. Note width, depth, and height. A standard desk runs 48 to 60 inches wide and 24 to 30 inches deep. Standing desks add up to 20 inches of height range.
- Cut paper templates. Use 1 inch equals 1 foot scale on graph paper, or tape newspaper to the floor at actual size. Slide them around freely. Success looks like one layout where every walkway measures 36 inches or more.
- Mark door swings. A door needs a quarter-circle of clear floor equal to its width, usually 30 to 36 inches. Draw it on your plan.
- Locate power. Mark every outlet. Extension cords crossing walkways are a trip hazard and break many fire codes in shared offices.
But what if you do not trust paper? Free tools like Floorplanner and the IKEA Kreativ app let you drag virtual furniture around a scanned version of your room in about 15 minutes.
How To Position Your Desk for Light, Focus, and Comfort
The desk is the anchor. Place it first, then build everything else around it.

The Three Best Desk Positions
Facing the room with your back to a wall: This is the commanding position. You see the door, so you feel less startled, and you avoid screen glare from windows behind you. It suits managers and anyone taking video calls, since the wall behind you becomes a clean backdrop.
Perpendicular to a window: Light comes from your left or right side. This is the best choice for people who work on a screen all day because it avoids both glare and a dark screen against a bright background.
Facing a wall: This maximizes focus and works in small spaces, as it removes visual distractions. Leave at least 36 inches behind your chair so you can stand up without hitting anything.
Avoid placing the desk with your back to the door unless you have no other option. If you must, add a small wall mirror or a monitor-mounted rearview mirror (about $10) to see behind you.
But what if the only workable wall is opposite a window? Add a blackout-style roller shade or a sheer panel, such as IKEA TUPPLUR at roughly $20, to diffuse light without losing daylight entirely.
The Zone Method: How To Group Furniture by Task Frequency
Think of your office as three zones. This single idea prevents most clutter and wasted motion.
- Primary zone (0 to 25 inches): Items you touch every hour: keyboard, mouse, notebook, phone, pen cup. Nothing else belongs here.
- Secondary zone (25 to 60 inches): Items used daily: printer, file drawer, reference binders, a second monitor. A rolling pedestal drawer such as the IKEA ALEX ($90 to $120) fits under most desks and counts as secondary storage.
- Tertiary zone (beyond 60 inches): Items used weekly or less: archives, supplies, spare cables. Bookcases and cabinets go here, ideally along a wall.
The test is simple. Time yourself retrieving ten common items. If any take more than 10 seconds, move that item one zone closer.
Printers deserve special mention. Most people use one a few times a month, yet it occupies prime desk space. Move it to a shelf or credenza across the room and you will free 15 by 18 inches of desktop.
But what if you work in a studio apartment with no spare wall? Use vertical storage. A 72-inch tall bookcase has the footprint of a 30-inch one but triples capacity.
Which Office Layout Works Best? A Comparison of Five Common Setups
No single layout wins everywhere. Pick the one that matches your room and your work.

| Layout | Minimum Room Size | Best For | Main Drawback | Recommendation |
|---|---|---|---|---|
| L-shaped desk in corner | 9 x 9 ft | Multitaskers using two screens plus paperwork | Wastes corner space if the return is rarely used | Choose for heavy documents and large monitors |
| Single straight desk against wall | 7 x 8 ft | Small rooms, laptop users | Limited surface area | Choose for spaces under 70 square feet |
| Floating desk in room center | 10 x 12 ft | Video calls, meetings with guests | Cables must be routed to the floor | Choose if you host clients or want a clean backdrop |
| Back-to-back desks | 10 x 12 ft | Two people sharing a room | Less visual privacy | Choose for couples or partners working together |
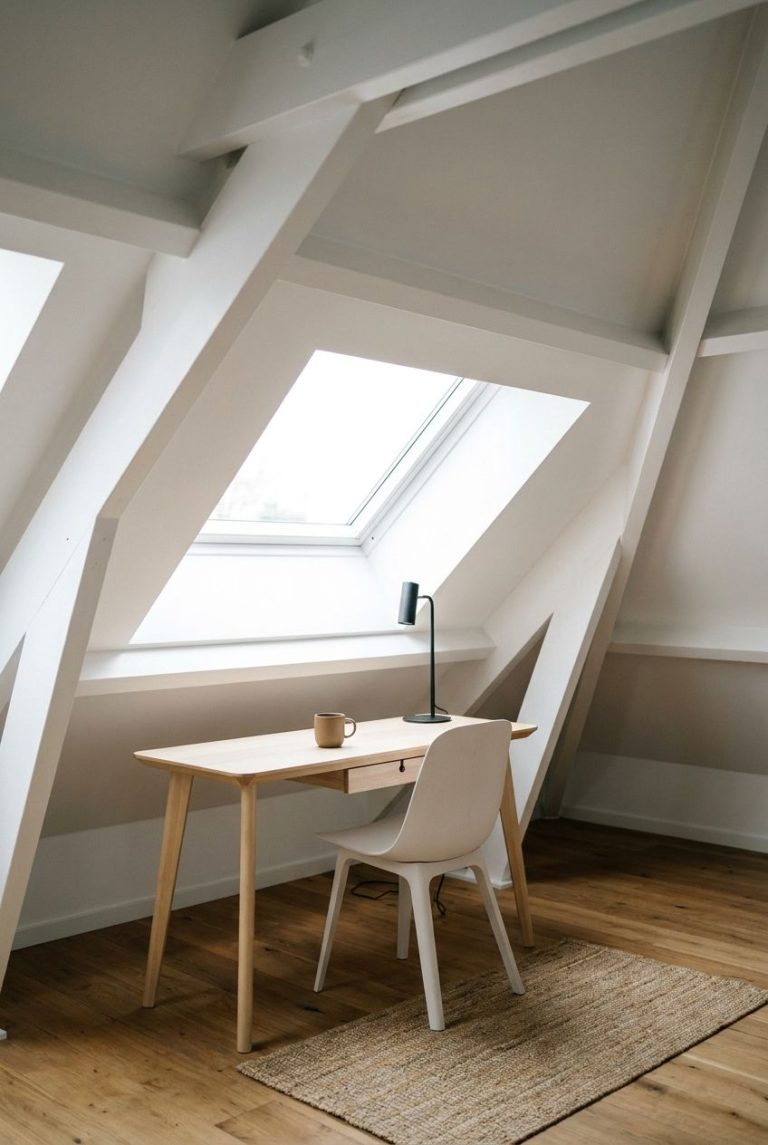
| Desk under a loft or in a closet | 4 x 6 ft | Apartments, occasional work | Poor ventilation, limited seating options | Choose only if you work under 3 hours daily |
For most people working from home in a spare bedroom, the single straight desk plus a vertical bookcase beats everything else on cost and flexibility. An L-shape earns its keep only if you regularly spread out paper.
How To Organize a Small Office Without Making It Feel Cramped
Small rooms fail when every piece is bulky. Switch to furniture that shrinks the visual footprint.
Five Space-Saving Moves That Work
- Choose legs over panels. A desk with open legs, such as the IKEA LAGKAPTEN with ADILS legs ($70 to $90), looks lighter than one with solid side panels.
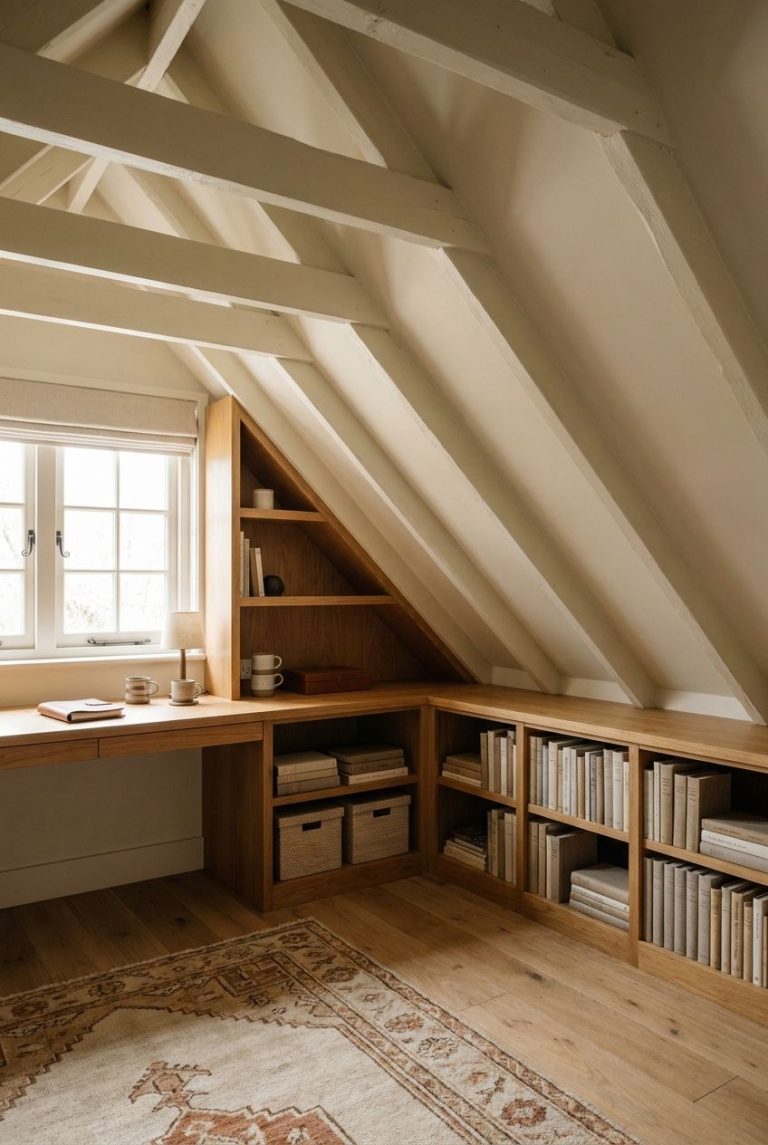
- Go wall-mounted. Floating shelves at 12 inches deep hold books and supplies without using floor area. Mount them with studs, 16 inches apart on center in most homes.
- Use a monitor arm. A $40 to $60 arm like the AmazonBasics single arm lifts the screen off the desk and frees about 8 inches of depth.
- Pick a folding or stacking chair for guests. Store it flat behind a door instead of leaving a second chair in the room.
- Keep the center empty. The eye reads open floor as space. Push storage to the perimeter.
Light colors also help. White or pale wood surfaces reflect more light and make a 100-square-foot room feel larger.
But what if you share the room with a bed or sofa? Use a bookcase as a divider, placed at a right angle to the wall. A 30-inch deep unit creates a visual boundary and offers storage on both sides.
How To Organize Cables, Drawers, and Surfaces in 45 Minutes
Furniture arrangement fails the moment cables pile up. Fix them in the same session as the layout.

- Unplug and label. Put masking tape flags on each cord: monitor, laptop, lamp, charger. Takes about 5 minutes.
- Install a cable tray. An under-desk metal basket, around $15 to $25, holds your power strip off the floor. Mount it with the included screws, 2 to 4 inches below the desktop.
- Bundle with Velcro ties. Avoid zip ties on cords you will swap, because they require cutting. A pack of 50 reusable ties costs about $8.
- Add a grommet or desk hole. If the desk is solid wood or laminate, a 2.5-inch grommet kit ($10) lets cables pass through cleanly. Drill slowly and test on scrap first.
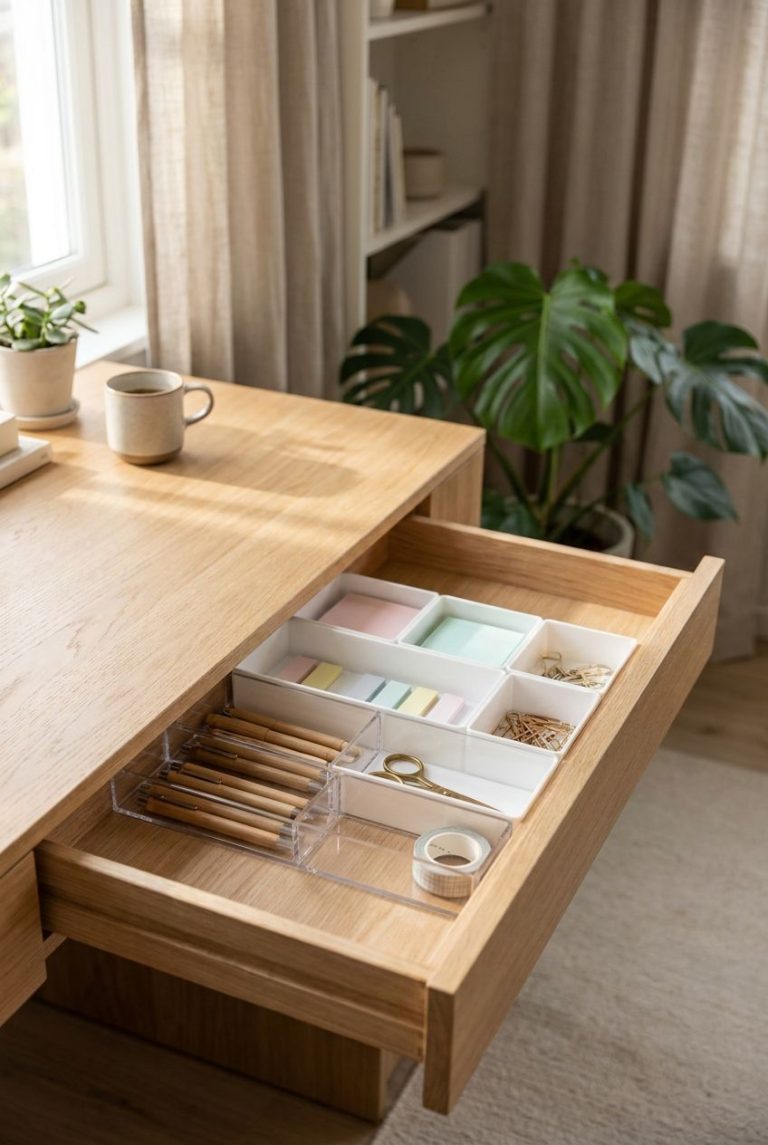
- Purge the drawers. Take everything out. Keep only items used in the past 30 days in the top drawer. Everything else goes to the tertiary zone or the trash.
Use drawer dividers. A bamboo organizer tray ($12 to $20) stops pens, tape, and chargers from becoming one tangled pile.
But what if the desk has no room for a tray? Stick adhesive cable clips along the back edge and run wires to the nearest leg, then tape them down to the baseboard with paintable cord covers.
Three Common Mistakes When Arranging Office Furniture (and How To Avoid Them)
These errors show up in almost every home office we see. All are fixable in under an hour.
Mistake 1: Ignoring Natural Light Direction
People place the desk where it looks nice rather than where the light works. A monitor facing a window forces your eyes to adjust constantly and causes headaches. Fix: Stand where you will sit at 10 a.m. and 3 p.m. If glare hits the screen at either time, rotate the desk 90 degrees or add a shade.
Mistake 2: Blocking Walkways With Storage
A filing cabinet that narrows a path to 24 inches is a daily shin-bruiser. Fix: Measure after placing everything. If any path is under 30 inches, move the bulkiest item first.
Mistake 3: Buying Furniture Before Planning
A 60-inch desk that looked fine online can overwhelm a 9-foot wall once you add a 36-inch bookcase beside it. Fix: Tape the footprint on the floor with painter’s tape and live with it for a day before ordering.
Bonus Mistake: Overcrowding the Desktop
A desk holding a lamp, plant, three photo frames, and a speaker leaves little room to actually work. Fix: Keep only the primary-zone items on the surface. Move decor to a shelf at eye level.
Answering the Hard Questions: What If Your Office Layout Does Not Fit the Rules?
Real rooms are not rectangles with ideal windows. Here are the scenarios people worry about most.

What if I rent and cannot drill into walls? Use freestanding shelving units like the IKEA KALLAX ($60 to $90) and adhesive hooks rated for the weight you need. Tension-rod shelving also works in alcoves.
What if my room is also a guest bedroom? Choose a wall-mounted fold-down desk, such as those from Murphy Desk Co. or a $120 DIY version using a hinged shelf bracket. It folds to under 4 inches deep when guests arrive.
What if I share the office with a colleague? Mirror the layout: desks facing walls on opposite sides, with a 48-inch aisle between them. Use a rug or bookcase to define separate zones, and keep headphones within reach.
What if my budget is under $200? Prioritize in this order: a supportive chair, adequate lighting, then storage. A used Steelcase Leap chair costs about $250 to $400 on resale sites, but a $100 chair with adjustable lumbar support is enough to start.
What if I hate the result? Live with it for a week before changing anything. Initial discomfort often fades. If it persists after 7 days, adjust one variable at a time, such as the monitor height or the chair position.
How To Maintain Your Organized Office in 10 Minutes a Week
A good layout decays without upkeep. A short weekly reset keeps it working.
- Friday clear-down (5 minutes): Return every item to its zone. Wipe the desk with a microfiber cloth. File or discard loose paper.
- Monthly drawer check (10 minutes): Remove anything unused for 30 days. Be ruthless with dried pens and tangled chargers.
- Quarterly layout review (20 minutes): Ask whether you reached for anything awkwardly. If yes, move it closer. Seasons also change light angles, so recheck glare.
- Yearly deep clean (1 hour): Pull the desk away from the wall, vacuum behind it, retighten screws, and inspect cables for fraying.
Set a recurring calendar reminder. Habits stick when they are scheduled, not remembered.
Also keep one small basket or tray labeled for incoming items. Mail, receipts, and sticky notes go there first and get processed during the Friday clear-down instead of spreading across the desk.
Your Next Step: Do This Before You Close This Tab
Grab a tape measure and a pencil. Measure your room’s four walls and mark every door, window, and outlet on a sheet of paper. That 10-minute task is the foundation for everything above, and it turns a vague plan into a layout you can actually build today.