Crockpot Lunch Crock Food Warmer: The Complete Guide to Hot Meals at Your Desk
The average office worker spends roughly 11 minutes a day waiting in line for a shared microwave, and the lunch that comes out is usually reheated unevenly: scorching at the edges, cold in the middle. The Crockpot Lunch Crock food warmer exists to kill that daily ritual. You plug in a small ceramic-style crock at 11:30, and by 12:30 your meal is steaming hot, sitting on your desk, no queue required.
This guide covers exactly how the Lunch Crock works, what it costs, which foods heat well, how to avoid the mistakes that ruin first-time lunches, and whether it beats the alternatives for your workspace. Everything here is based on the product’s real specs and the way people actually use it at desks, in break rooms, and on job sites.
What the Crockpot Lunch Crock Food Warmer Actually Is (and What It Isn’t)
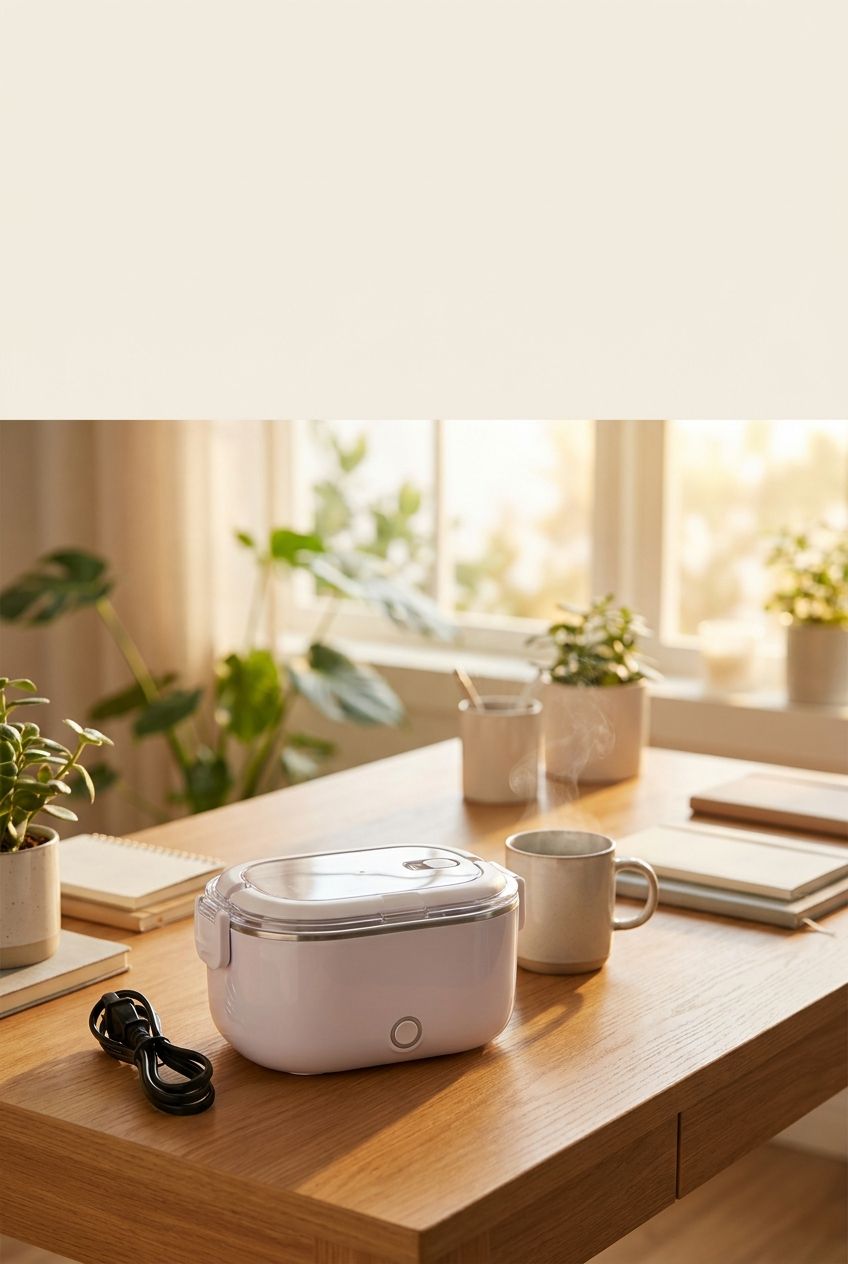
The Crockpot Lunch Crock is a personal-size electric food warmer built around a removable 20-ounce container, roughly the size of a large soup bowl. It plugs into a standard 120V wall outlet and draws about 20 watts, less than a typical desk lamp bulb. Retail price runs about $25 to $35 depending on the retailer and color.

The key thing to understand: it is a warmer, not a cooker. A full-size Crockpot slow cooker pulls 150 to 250 watts and cooks raw food over hours. The Lunch Crock gently raises already-cooked food to eating temperature, typically 150 to 165°F, and holds it there. Think of it as a heated bowl, not a tiny stove.
What comes in the box
- Heating base: A compact unit with a 6-foot cord and a carry handle built into the housing.
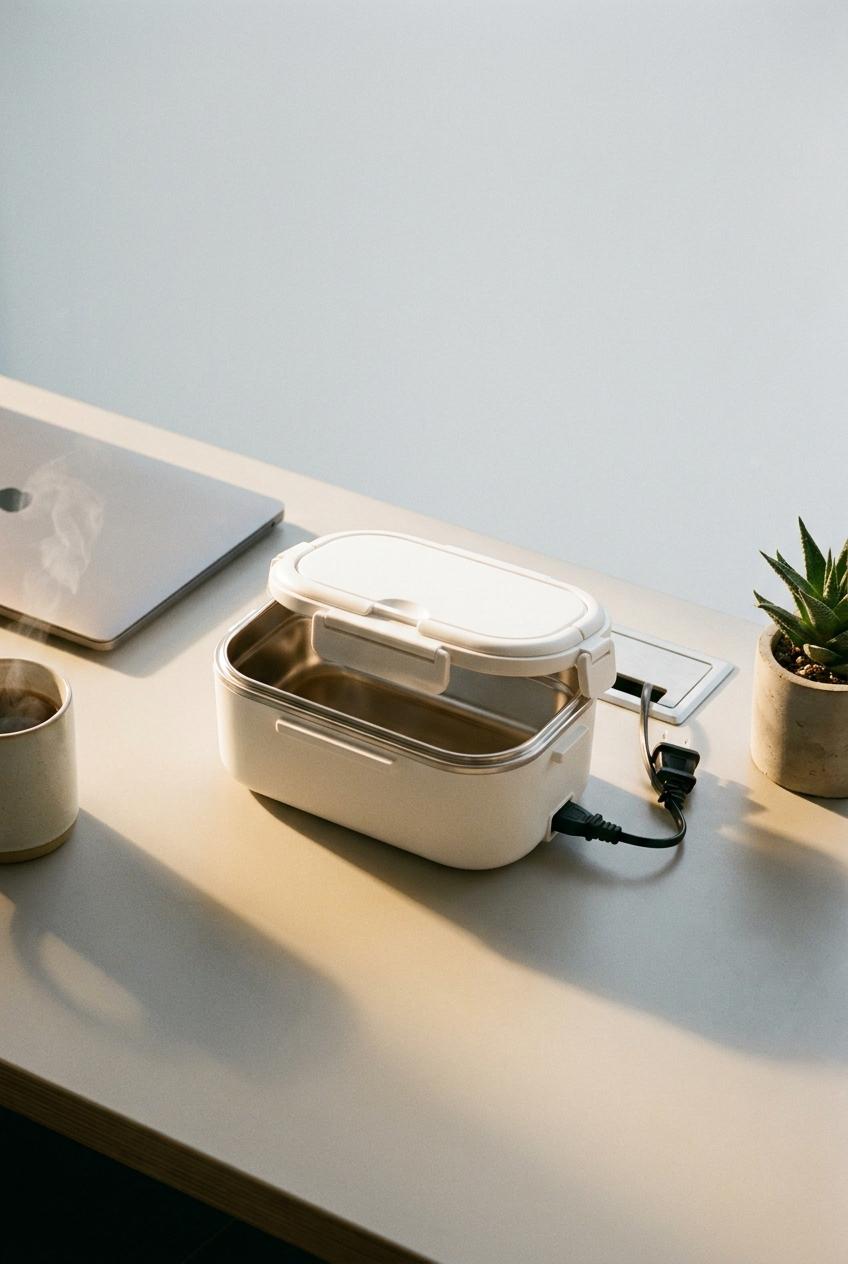
- Food container: A 20-ounce removable crock with a locking lid (the lid latches so it can travel without leaking).
- Spoon: A small utensil that nests with the lid, so you are not hunting for cutlery.
What it is not
It will not cook raw chicken, boil water for pasta, or rescue a frozen block of leftovers in 20 minutes. Treat it as a reheating and holding device and you will love it. Expect it to cook and you will be disappointed.
How to Get Hot Food in 3 to 4 Hours: A Step-by-Step Heating Routine
Because the Lunch Crock runs at low wattage, patience is built into the design. Most users report 3 to 4 hours to bring refrigerated food to a safe, hot temperature. Plan around that and the results are consistently good.
- Pack the crock the night before. Spoon in leftovers, filling no more than three-quarters full (about 15 ounces). Success looks like food sitting at least an inch below the rim, so heat can circulate. But what if I overfill it? The lid will not seal and the top layer will stay lukewarm.
- Keep it refrigerated until you leave. Store the filled crock in the fridge at 40°F or below. What if I have no fridge at work? Pack it in an insulated bag with a frozen gel pack and plug in within 2 hours of leaving home.
- Plug in by 8:30 to 9:00 a.m. for noon eating. Set the base on a hard, flat surface and connect the cord. Success looks like the indicator light glowing and the crock feeling warm to the touch within 20 minutes.
- Stir once at the 2-hour mark. Lift the lid, stir gently, and re-latch. This evens out cold spots, especially in thick foods like chili or mac and cheese. What if I skip the stir? You may find a cold pocket in the center.
- Verify with a thermometer at lunchtime. A $10 instant-read thermometer (the ThermoPro TP03 is a reliable budget pick) should read at least 165°F in the center. What if it reads 140°F? Give it another 45 minutes, stirring once.
Best Foods for a Lunch Crock Food Warmer: 12 Meals That Reheat Perfectly
Moist, dense, saucy foods win. The Lunch Crock uses gentle conductive heat, so anything with liquid to carry that warmth through the food performs best.
Foods that excel
- Chili and stew: Thick, liquid-rich, and often better on day two. Heats evenly in about 3 hours.
- Soups (broth or cream-based): Reach 165°F reliably in 2.5 to 3 hours. Leave extra headroom because soup expands slightly as it heats.
- Baked pasta and mac and cheese: Add 1 tablespoon of milk or broth before packing so the sauce does not dry out.
- Curries over rice: Pack the curry and rice together; the sauce rehydrates the grains.
- Shredded meats in sauce: Pulled pork, barbacoa, and chicken tikka masala hold heat superbly.
- Casseroles and enchilada filling: Cut into 1-inch pieces so heat penetrates quickly.
- Oatmeal and congee: A breakfast option if you are at your desk by 7:30 a.m.
Foods that struggle
Dry foods (plain grilled chicken breast, roasted vegetables without sauce) dry out over hours of warming. Fried foods turn soggy. Delicate fish gets rubbery and, frankly, will upset your coworkers. If you must pack protein, bury it in sauce.
A useful rule: if the food would still taste good as a soup or stew, it works. If it depends on a crisp texture, leave it for the microwave or eat it cold.
Crockpot Lunch Crock vs. Microwave vs. Thermos: Which Is Best for Your Desk?
No single option wins everywhere. The right choice depends on your schedule, your workspace, and what you eat. Here is a direct comparison.
| Feature | Crockpot Lunch Crock | Office Microwave | Insulated Food Jar (e.g., Thermos Stainless King 16 oz) |
|---|---|---|---|
| Price | $25–$35 | Free (shared) | $30–$40 |
| Time to hot food | 3–4 hours (passive) | 2–4 minutes (plus queue) | 0 minutes (pre-heated at home) |
| Food stays hot until | All day while plugged in | Eaten immediately | 5–7 hours max |
| Capacity | 20 oz | Any container | 16 oz |
| Heating evenness | Very even (gentle) | Uneven (hot spots) | Even (but only keeps heat, never adds it) |
| Needs an outlet | Yes | Yes (shared) | No |
Recommendation by use-case: Choose the Lunch Crock if you work at a fixed desk, eat at a set time, and hate microwave lines. Choose a Thermos food jar if you commute, work in the field, or have no outlet. Stay with the microwave if you eat at unpredictable times or your lunch is mostly crisp or dry foods.
How Much a Lunch Crock Food Warmer Saves You (Real Numbers)
The pitch is not just convenience. It is the money you stop spending when homemade lunch becomes appealing.

Start with the cost of the habit it replaces. A typical US office lunch purchase runs $12 to $15 with tip and delivery fees. If the warmer helps you swap just two bought lunches per week for leftovers, you save roughly $24 to $30 weekly. At $30 for the unit, it pays for itself in about one week.
Electricity cost
At 20 watts for 4 hours, the unit uses 0.08 kWh per day. With the US average residential rate near $0.16 per kWh, that is roughly $0.013 a day, or about $3.25 per year if you use it every workday. Essentially nothing.
Time savings
Skip the microwave line and walking to the break room, and you reclaim 8 to 12 minutes daily. Across 230 workdays, that is 30 to 45 hours a year. Not life-changing individually, but you also eat while the food is genuinely hot, which most people rate as a bigger quality-of-life upgrade than the time itself.
Annual math example
- Cost to buy: $30 one time.
- Electricity: about $3 per year.
- Savings from 2 fewer purchased lunches weekly: about $1,200 per year at $12 each over 50 weeks.
Even if you only manage one swap per week, you clear $600 annually. Few desk accessories return that kind of money.
7 Common Lunch Crock Mistakes (and How to Avoid Each One)
Most disappointing first lunches trace back to a handful of avoidable errors. Fix these and your results improve immediately.
- Plugging in at 11:30 for a noon lunch. The unit needs 3 to 4 hours. Plug in by 8:30 to 9:00 a.m., or accept a lukewarm meal. A cheap outlet timer will not help here since you want it on early, not late.
- Packing frozen food. A frozen block will never reach safe temperature on 20 watts. Thaw in the fridge overnight first. Heating frozen food slowly also keeps it in the bacterial danger zone (40–140°F) for hours.
- Overfilling the crock. Past the 15-ounce mark, the lid cannot seat properly and heat escapes. Stay under three-quarters full.
- Skipping the thermometer. Touch is unreliable. A $10 probe thermometer removes all guesswork and protects you from undercooked leftovers.
- Submerging the base in water. Only the crock and lid are washable. Wipe the base with a damp cloth and keep it dry.
- Leaving food in all day without checking time. Once hot, eat within 2 to 3 hours. Extended holding beyond that degrades texture and quality even if it stays safe.
- Packing delicate textures. Rice noodles, steamed broccoli, and breaded items turn mushy. Choose sauce-forward meals instead.
Food Safety at Your Desk: Keeping Lunch Out of the Danger Zone
This is where the Lunch Crock needs a smart user. Because it heats slowly, food spends time in the temperature range where bacteria multiply fastest. The USDA calls 40°F to 140°F the danger zone, and food should not sit there for more than 2 hours (1 hour if the room is above 90°F).

The rules that keep you safe
- Start cold: Food goes into the unit straight from a 40°F fridge or a cold-packed bag, never room-temperature.
- Target 165°F: This is the USDA recommended reheating temperature for leftovers. Confirm it with a thermometer.
- Follow the 2-hour rule on the commute: If food sat unrefrigerated for more than 2 hours before you plugged in, throw it out.
- Do not reheat twice: Once warmed and partially eaten, discard leftovers rather than re-chilling and heating again.
If your first 90 minutes are the concern
This is a legitimate criticism: during the initial warm-up, food climbs through the danger zone gradually. Reduce the risk by starting with fully chilled food and a smaller portion (12 to 14 ounces heats faster than 18). Dense foods like chili with a stir at hour two also close that window quicker.
If you handle high-risk foods such as rice dishes (Bacillus cereus is a known culprit) or poultry, be extra strict about the cold start and the 165°F check.
Setting Up a Workspace Lunch Station: Outlet, Surface, and Cleanup in 10 Minutes
A little planning turns the Lunch Crock from a gadget into a smooth routine. Setup takes about 10 minutes the first time.
Choose the right spot
Place it on a hard, heat-tolerant surface, not directly on papers, a mousepad, or a wood veneer you care about. A $5 silicone trivet or cork coaster solves this. Keep it at least 6 inches from monitors, paper stacks, and keyboards, since the base warms up and food steam can escape when you stir.
Handle the cord
The 6-foot cord usually reaches a nearby outlet, but avoid stretching it across a walkway. Use cable clips (about $6 for a 10-pack) to route it along a desk leg. Plug directly into the wall or a surge protector; skip cheap extension cords with thin gauge wire.
Cleanup routine
- Unplug and let cool for 10 minutes. The crock stays hot well after power is off.
- Remove the crock and lid. Rinse immediately so sauce does not harden.
- Wash by hand or on the top rack of a dishwasher (check your model’s manual).
- Wipe the base with a damp cloth and dry before storing.
If you share a kitchen, keep a small dish towel at your desk so cleanup happens in the break room sink in under two minutes.
Is a Lunch Crock Worth It? Answering the Objections You’re Probably Thinking
Reasonable skepticism deserves straight answers. Here are the most common objections and what to do about each.
“My office doesn’t allow personal appliances.”
Some employers restrict plug-in devices for fire-safety reasons. Ask HR first. At 20 watts, the Lunch Crock draws less power than a phone charger plus a desk fan, and it is UL-listed, which many facilities teams accept. Get the approval in writing or by email so there are no surprises.
“What if I forget to plug it in?”
Set a recurring phone alarm for 8:45 a.m. labeled “plug in lunch.” If you forget and it is already 11:30, use the microwave as backup for that day. Keep a shelf-stable emergency lunch (a cup of instant soup) in your drawer.
“20 ounces isn’t enough for me.”
It holds a moderate portion, about one and a half cups of food. Large eaters can pair it with a side of fruit, a sandwich half, or crackers, or step up to a bigger warmer in the 24 to 40 ounce range. Be honest about your appetite before buying.
“Won’t my desk smell like food?”
Yes, sometimes, especially with curry or cabbage-based dishes. Keep the lid latched until you eat, choose milder recipes on days with meetings, and open a window or sit near ventilation if possible. A sealed lid contains most odor.
“Is it better than just buying a better thermos?”
Only if your day is predictable and you have an outlet. A thermos needs no power and works anywhere, but it only keeps heat; the Lunch Crock actively heats and also tolerates cold-packed food.
10 Desk-Friendly Recipes Built for the Crockpot Lunch Crock
Designing recipes around the warmer, rather than adapting random leftovers, gives the best results. Each of these fits the 15-ounce fill line and reheats evenly.
- Turkey chili (about 380 calories): Ground turkey, kidney beans, and diced tomatoes. Cook a big batch Sunday; portion into five crocks.
- Chicken tortilla soup: Shredded chicken, black beans, and corn in broth. Add tortilla strips and cheese after heating.
- Beef barley stew: Hearty and forgiving; barley absorbs liquid, so add an extra 1/4 cup of broth when packing.
- Chana masala with rice: Chickpeas in spiced tomato sauce, packed over basmati. Sauce rehydrates the rice.
- Sausage and white bean stew: Smoked sausage, cannellini beans, and kale in broth.
- Baked ziti: Extra sauce is key; add 2 tablespoons of marinara beyond what looks necessary.
- Thai red curry with shrimp and veggies: Pack shrimp last, in sauce, and eat within 3 hours of reaching temperature.
- Chicken pot pie filling: Skip the crust; carry a biscuit separately to crumble on top.
- Mac and cheese with broccoli florets: Cut florets small so they steam through in the sauce.
- Congee with ginger and scallion: A comforting breakfast or lunch that tolerates long holding well.
Batch-cook on Sunday, portion into labeled crocks or reusable containers, and you have five lunches ready in about 90 minutes of total work. That is roughly $3 to $4 per meal versus $12 purchased.
Your Next Move: Run a One-Week Test Before You Commit
Do not overthink this. Buy one Crockpot Lunch Crock food warmer for about $30, and make a pot of chili or soup this Sunday. Portion five 14-ounce servings, refrigerate them, and plug in each morning by 8:45 a.m. for the week.
Track three things: how hot the food is at noon (use that $10 thermometer), how many minutes you saved by skipping the microwave line, and how much you spent on lunch compared to your usual week. If the unit hits 165°F by lunchtime and you skipped at least two purchased meals, it has already paid for itself. If it falls short, return it within the retailer’s window and try an insulated food jar instead.